")


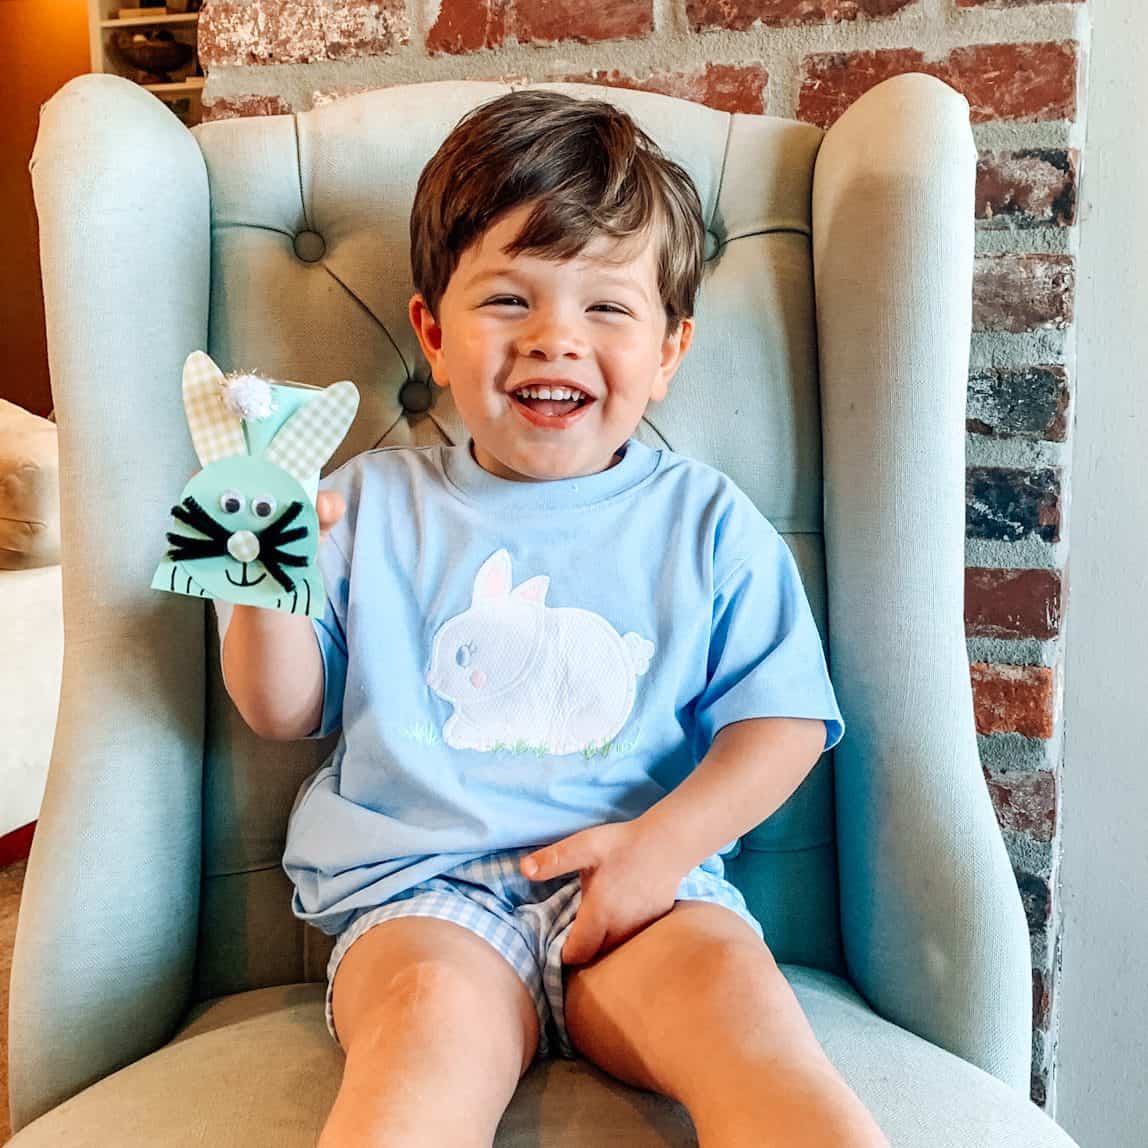
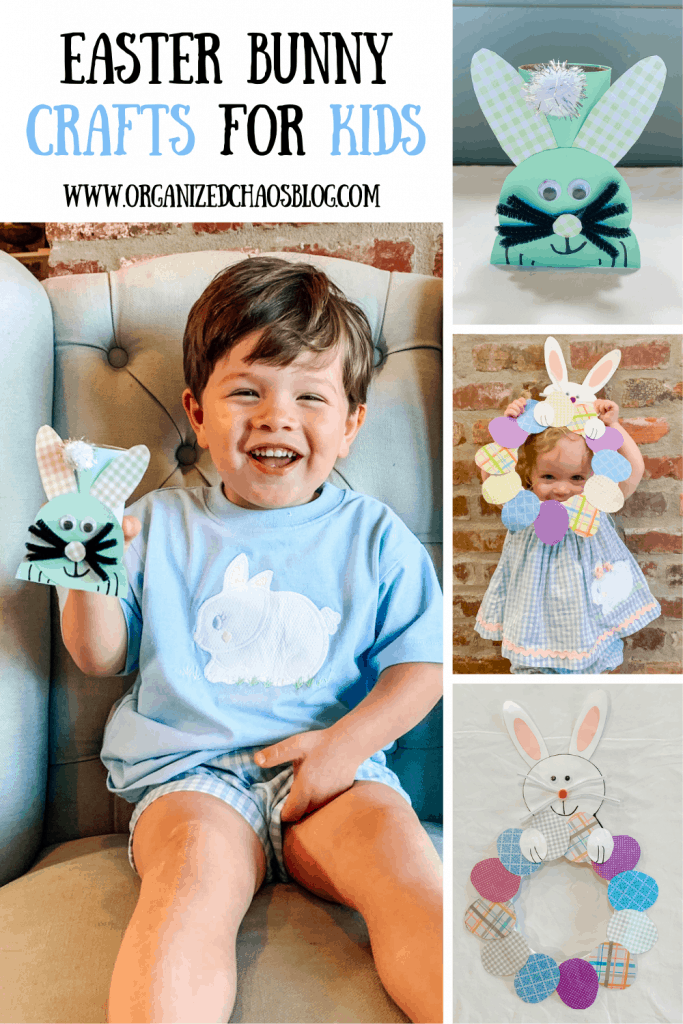
We are in full Easter mode at our house. From the decorations and egg hunts to candy and crafts, my kids have been loving this holiday season. Today I’m sharing two cute and easy Easter bunny crafts for toddlers.
The two crafts I’m sharing today are a bunny paper roll and an Easter egg bunny wreath. You can click on either of the titles to take you right to the directions for that particular craft.
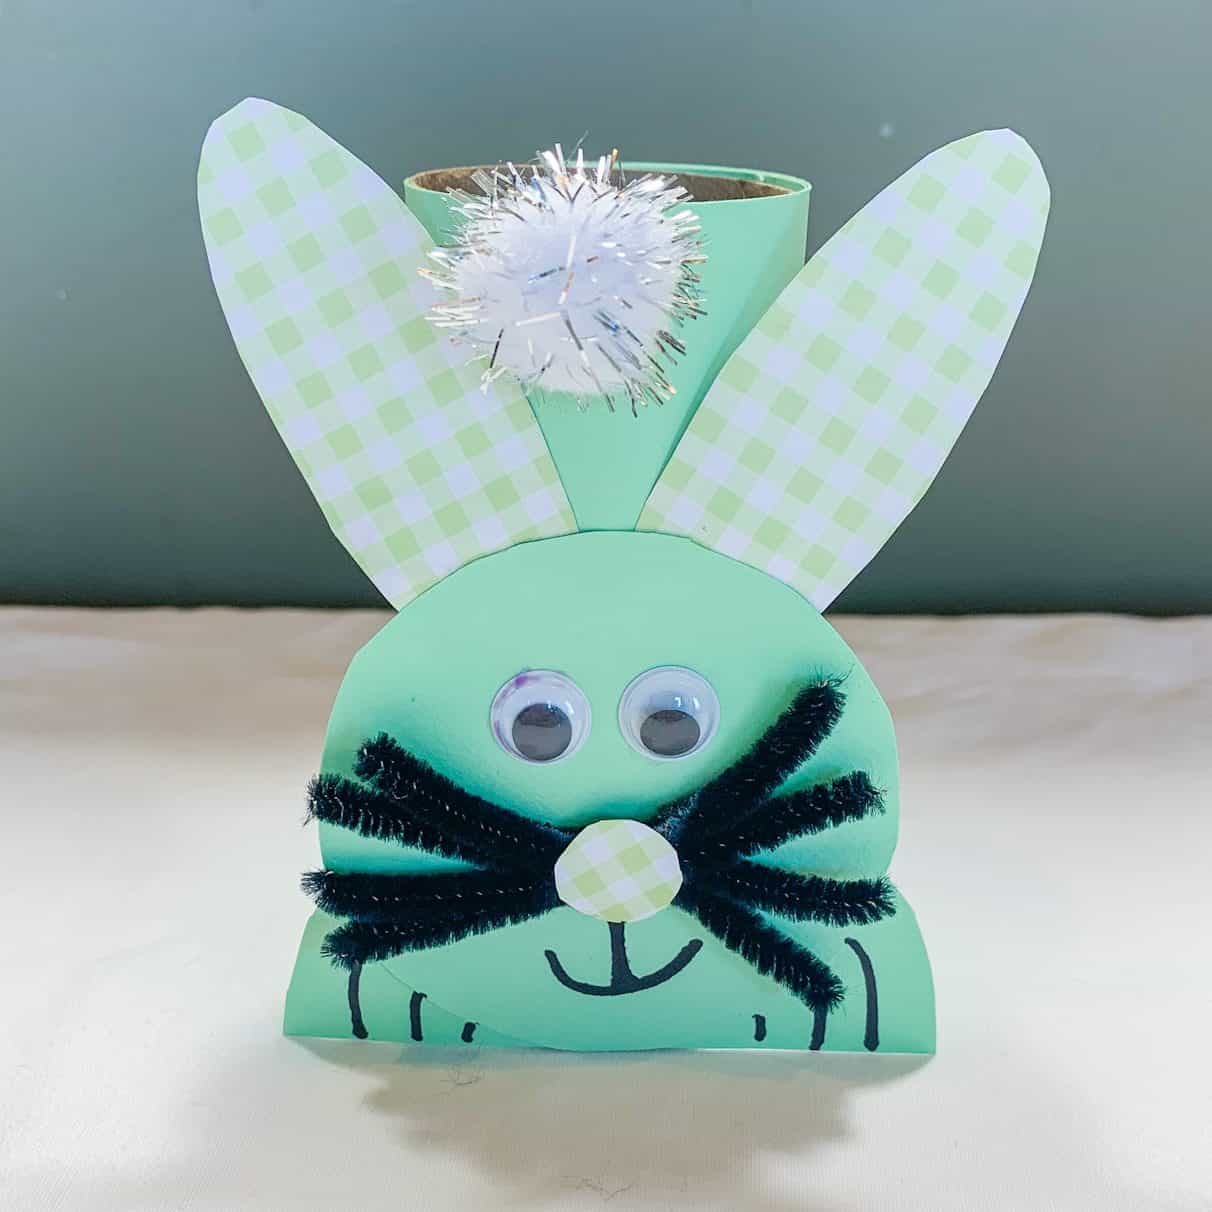
Bunny Paper Roll
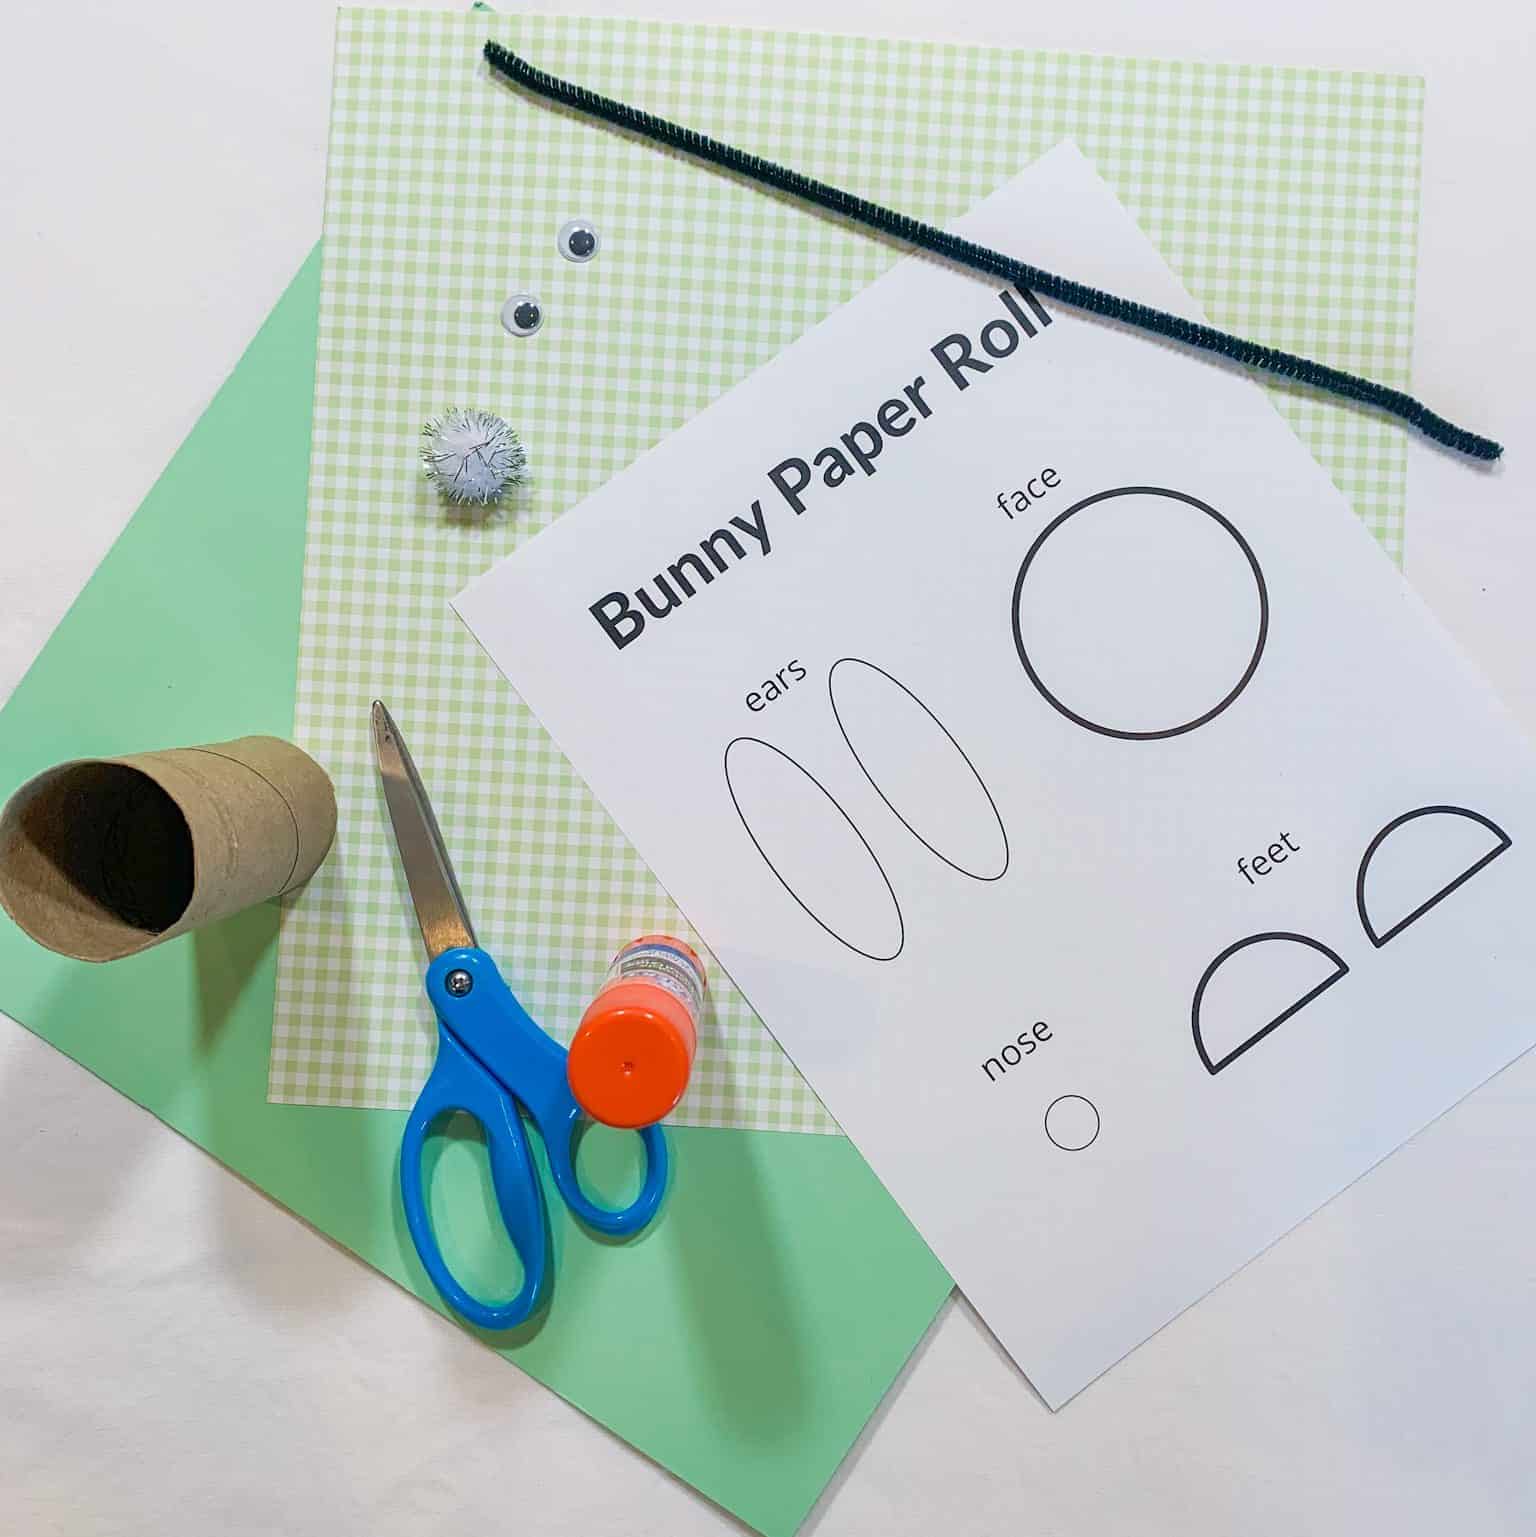
First up is this Easter bunny paper roll. I love this one because you probably already have all the supplies you need lying around your house.
Materials
- Bunny template
- Empty toilet paper roll
- Squiggly Eyes (you could also draw them on)
- Cardstock or construction paper (colors of your choice)
- Cotton Ball
- Black or white pipe cleaner
- Scissors and glue
Directions:
- Cut out the pieces from the template.
- Color the pieces or trace them onto the desired colored construction paper pieces. Cut these out, too.
- Next, cut the pipe cleaner in half 2-3 times (depending on the length you would like the whiskers) and fold each piece into a V shape.
- Cut one long strip of construction paper the width of the toilet paper holder.

5. Glue the long strip and wrap it around the toilet paper holder until it is fully covered.


6. Assemble the face by gluing on the eyes, whiskers and nose.
7. Attach the ears to the head of the rabbit. Make sure you glue them wide enough apart so the cotton ball tail can fit in between.
8. Glue the half circle to the bottom of the bunny’s head leaving the two sides sticking out.
9. Use a marker to draw on the mouth and feet of the bunny.

10. Glue the assembled bunny to the toilet paper roll.
11. Glue on the cotton ball tail of the bunny.
Easter Egg Bunny Wreath
Next up is this Easter Egg Bunny Wreath. I love this craft because it can be adjusted for the age of your child. They can help complete the entire thing and color all the eggs, or just help with bits and pieces like my 3-year-old did. Also, it makes the cutest peek-a-boo mask for younger siblings.

Materials:
- Paper plate
- Printable Easter egg templates
- Printable bunny template
- White and pink card stock or construction paper
- Crayons and Markers OR Easter/Spring themed paper
- Pink pom-pom, wiggly eyes, and white pipe cleaner (optional)
- Scissors and glue

Directions:
- Cut out the bunny template.
- Trace the inner ear pieces on pink construction paper (or color them) and the other pieces on white card stock. Cut out all pieces.

3. Assemble the bunny by gluing on the eyes, whiskers, and nose and then drawing the mouth on with a marker.
4. Glue the pink inner ears to the center of the large ears and then attach them to the bunny’s head.

5. Next, color and cut out the eggs. I have provided two different templates. If your child is younger you can trace one egg on Easter-themed paper and cut the eggs out to save time.
***Note, I have provided 8 eggs, but you may need more than that depending on the size of your plate. Just make 2 copies if needed.
6. Cut the center out of the paper plate to make it look like a wreath.
7. Glue the eggs around the exterior of the paper plate.

8. Glue on the bunny head to the top of the wreath and then add the hands.

I love how this craft turned out! I have it hanging on Grayson’s bedroom door, and it is the perfect Easter decoration.
I hope you and your little one enjoy some of these cute and easy Easter bunny crafts for toddlers. If you try any of them, please tag me on Instagram so I can see them.
Also, be sure to check out this fun ABC Easter egg hunt activity as well as my Easter basket gift idea post. Thanks so much for reading!


Be the first to comment