")


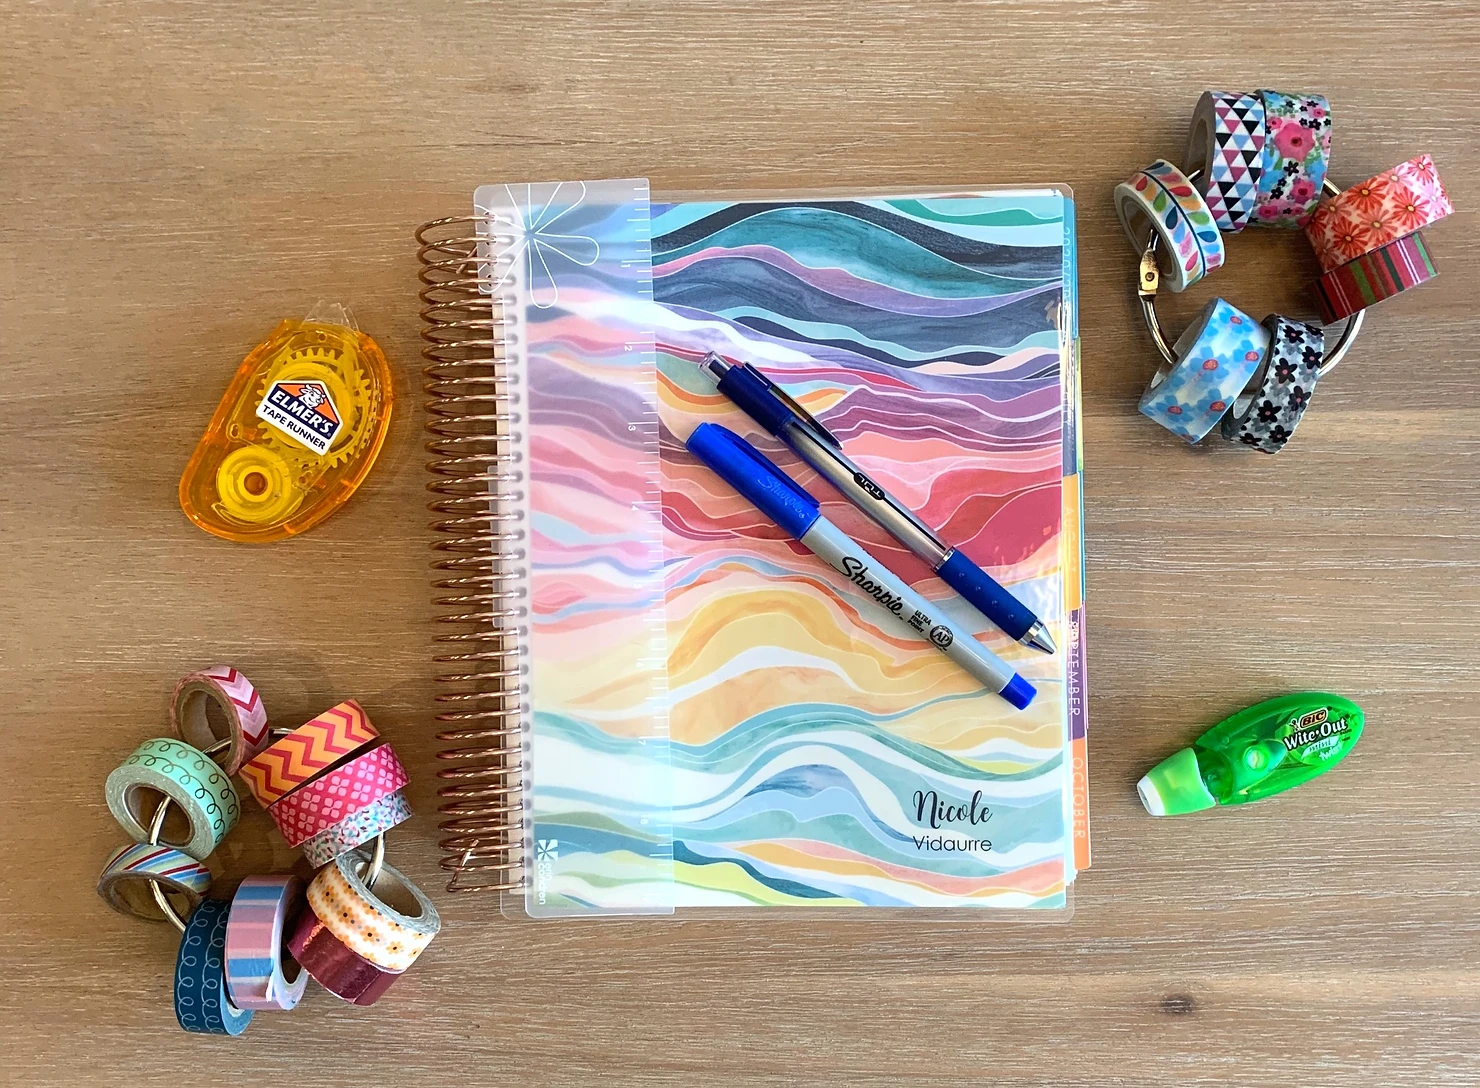
There are so many reasons I love the Erin Condren Life Planner. One of the biggest perks is the numerous “extra” pages in the front and pack of the planner. Today I am showing you my Life Planner setup and how I use the pages to keep me as organized as possible.
I will also share many other ideas you can use the notes pages to work for you. Even if you don’t use this specific planner, you can still use these ideas in the planner you love!
As I mentioned previously, Erin Condern life planners are offered in two different calendar setups (January-December or July-June). I always choose the July-June format because I am a teacher and my brain operates on an academic year.
This means my new planner will be starting in just a few weeks! Yay…I LOVE starting a fresh planner!
Included in this post are pictures from both my current planner and the new planner. I also threw in some pictures from some of my really old planners just to give you even more ideas!
Please keep in mind that some of my personal information will be covered up for privacy reasons. You can still get the gist of it!

Year at a Glance Spread
The first spread in the planner is a year at a glance calendar. I use this the same way every single year- to keep track of my work schedule (I am a teacher). I use various colors of these transparent dots to mark off things like professional developments, half days, holidays, etc.
In August when my kids start daycare, I will add a few more colors to distinguish things for them as well (class parties/events, days off, etc.)
Other great ideas for ways you can use this spread:
- school calendar for your kids
- work/vacation tracker (keeping track of PTO hours, etc)
- period/fertility tracker
- healthy and wellness- mark off days that you work out, hit your steps goal, close the rings on your iwatch, etc.
- finances (keep track when bills are due, days that you had a no spend, etc.)

Goals Spread
Next up is this goal spread that has 12 individual boxes. I have used this in various ways in the past. Most recently I use it as my measurement/weight tracker (trying to get back in shape after baby #2). The month stickers are from Erin Condren and the measurement tracker stickers are from Planner Chick Designs on Etsy.
I’m still trying to decide how I will use this spread for my new planner. Here are a few other ideas:
- goals for each month
- goals by category (financial, family, home, spiritual, organization, friends, personal, health/wellness, etc.)
- brain dump by month
- brain dump by category (books to read, movies to watch, places to eat, recipes to try, a podcast to listen to, etc.)

Monthly Dashboard
At the beginning of each month, there is this two-page layout. One page is a lined page and the other page is a pre-formatted page. To be honest, I am not crazy about the pre-formatted page, but I find ways to make it work.
I used the lined page as a “memory” keeper. At the end of each month, I printed out 9 of my favorite photos from the month. I love looking back at these pages throughout the year!
I used the formatted page to track important dates, monthly goals, books I read, how much I saved, packages I ordered, and daily habits. This sticker kit I use for this page is from Planner Kate.

Monthly Notes and Quote Page
You also get a second plain notes page as well as a decorative quotes page each month. I use this page as a brain dump to keep important to-dos that I want to accomplish during the month. They are minimally decorated with some washi tape and stickers from the EC monthly sticker books.
Some months when I needed extra space, I cover the quotes pages with lists I make on these post-its. In the above picture, I made a list of clothes I needed for our family to take Audrey’s newborn pictures.
Monthly and Weekly Spread
I will be going into more detail on these two spreads tomorrow!
Notes Pages in the Back of the Planner
The back of the planner is filled with more notes pages. Over the years these pages have changed. Some years they are lined, dot grid, or even designs), but this year all of them are lined!
Here is a list of ideas that I have used or plan to use my notes pages for:
- monthly task tracker (things I need to remember doing every month (this is one of my favorite pages)
- automobile service tracker (when my car gets serviced and what I got done)
- kids class/daycare schedule (what their daily schedule looks like) This is especially useful for older kids. If you have to make an appointment you can make it during a non-essential class or if you want to have lunch with them you can quickly reference what time that is.
- kids medical history tracker (mark anytime they are sick or go to the doctor)
- date night bucket list (every so often my husband and I like to come up with a list of fun date night ideas)
- house projects
- book to read/ have read (now I use the app Good Reads to track this)
- packing list for the kids (great to reference when we are going anywhere)
- Dave Ramsey baby steps (I also keep this in my budget binder, but it’s nice to have it here too)
- gift list/wish list (ideas for things to buy other or things I want for myself/our home)
- travel to-do list (things I always do before we leave and when we come home)
- list of when bills are due (annual, quarterly, monthly, etc.)
- cleaning schedule (daily, weekly and monthly tasks)
- Holiday custody schedule (Alex goes back and forth between our house and his mom, so I keep his schedule in my planner for easy reference)
- events for the upcoming year (if you know about important events that are happening the next year, you can keep track of them)
The possibilities are endless!
I cannot tell you how useful all these extra pages are. I love having all the most important information I need in on place. It’s such a time saver!
There is also a pocket in the back of the planner which is perfect to hold important papers, invitations, bills, etc. The point is to make it your own; make it useful for YOU!
Tomorrow you will get to see the meat of the planner- the monthly and weekly spreads. I will show you exactly how I set them up and use them!
As always, make sure you are following me on Instagram. I have an entire saved highlight reel called “planner love.” Thanks so much for reading and happy planning! XOXO

Be the first to comment